I made a couple of table tops for myself and for few photographers. They are perfect for props/styling and easy to transport. I have a white one that I use all the time to photograph my jewelry on and wanted to make a more tattered looking one.
SO....
HERE IS AN EASY WAY TO MAKE A TABLE TOP LOOK VINTAGE/TATTERED/DISTRESSED/CHIPPY....WHICHEVER WAY YOU WANT TO CALL IT.
I built the table top using a piece of plywood for the base and I randomly cut left over pieces of pine with my compound miter saw.
Then I glued and nail the pieces together. The easiest way to nail each piece is with an air compressor nail gun.
Always measure twice cut once! Right? I should know by now after all these years...but I didn't and I cut the wood strips a little bit too small. So I had to create a skirt around the table.
It actually looks much better this way.
Use wood patty to hide the nails, sand and wipe clean.
Now for the distressing technique...
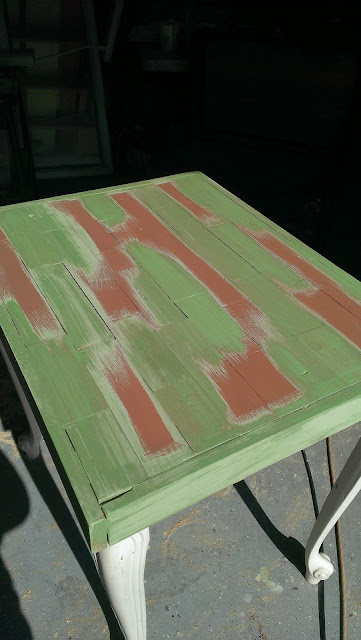
Step 1 Paint the table using an acrylic flat brownish color
Step 2 Choose your favorite color for the second layer.
There will be a total of 3 layer of paint.
I picked green
and since I was also going for the crackle look I wiped school glue here and there also.
No need to wait for the glue to dry,
step 3 paint your top layer....I used eggshell linen white from Behr.
Check out this little video, you can see how easy the top layer comes off where I rubbed the candle.
Use an electric sander with a fine sandpaper
Use an electric sander with a fine sandpaper
I get so excited when I start seeing the top layer come off!
Step 4 Brush a coat of Provencial Minwax and wipe off the excess.
Let it dry.
Great prop/styling table top!
 |
| Wishing you a wonderful week!! Ciao Rita |


No comments:
Post a Comment
"Sweet" it is to hear from you....